Week 1

First week we investigate retopology using Quad Draw Tool. This offers a streamlined, one-tool workflow for retopologizing meshes. Manual way of retopology process gives clean meshes while preserving the shape of reference surface.
The main menu bar, by selecting Mesh Tools > Quad Draw (to open the marking menu, Shift + right-click in the scene).


For homework I modeled simple low poly helmet. By bringing sphere delete half of the faces vertically. Then extrude bottom edges to create helmet shape. Next bu using boolean method I created eye holes

Before saving as FBX I created UV in the UV Editor by choosing edit ->auto. After that I saved all selections as FBX and opened in Substance Painter.
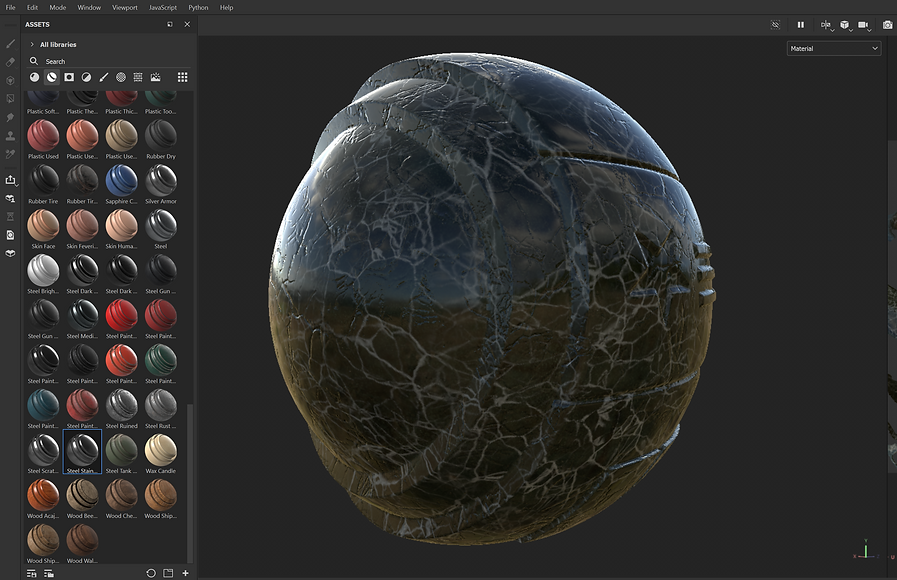
Next step was to loaded FBX from Maya. Change shaders in top corner change to Alpha Blending. Then textures settings->bake maps, choose output size and bake textures.

Final Render.

Inspirations and reference.


Week 2


Mechanics/parts.


Week 4
Painting Weights & More Rigging.

First thing this week we used one of the models in sculpting section. Content browser-bipeds-robot humanoid. Later using same techniques as we did last week. Quick rig-polygon soup and then create and update. In the skeleton section choose skeleton only.

Later change position for the bones and click create/update. Next step it was to apply same technique for the skelton we used last week

Drag the skeleton fbx to Maya view window and add bones same as before. Then hierarchy in the select left corner. By selecting X,YZ, press 0 and enter to reset position of the bones. Next step it was to rotate 90 degrees in X axes. Then in the toogles and change character name and lately apply in the source mocap rigged bones. In the controls assign each parts for the bones.
Week 5


Week 6
UVing Recap & ZBrush to Maya Pipeline.

This week we looked into Zbrush and texture paint section. By using alphas brushes we played with shapes and different colors. Paint tools are in the texture section.


Substance painting for Assessment 1.
